

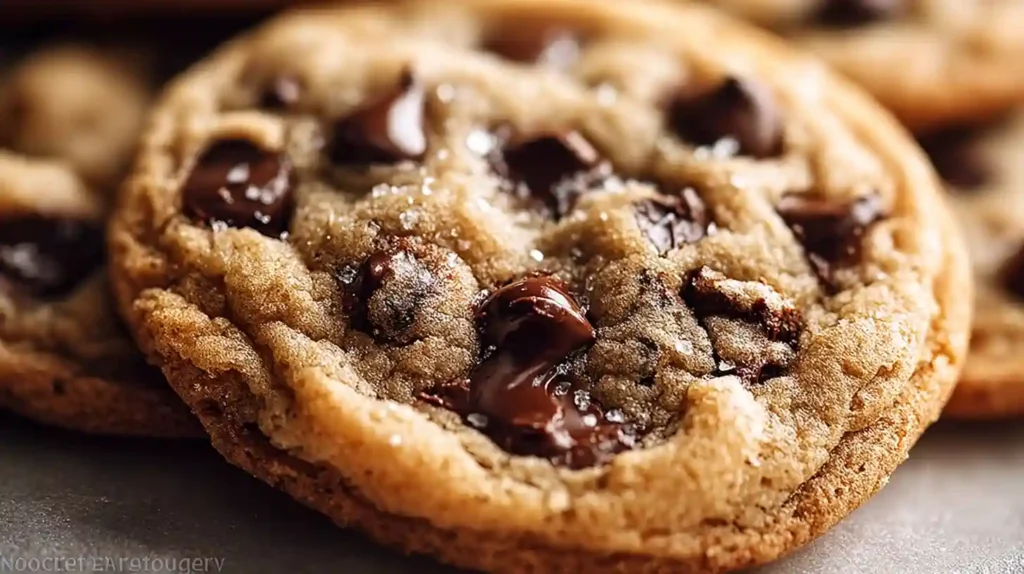
These Bakery Style Chocolate Chip Cookies deliver everything you love about those famous thick, chewy cookies from your favorite bakery. With their signature golden-brown edges, soft centers that stay tender for days, and generous chocolate chips in every bite, these cookies taste professionally made. The secret lies in proper technique: chilling the dough, using a combination of white and brown sugar for texture, and baking at the perfect temperature. Unlike thin, crispy homemade cookies, these beauties maintain that coveted bakery thickness while developing beautifully caramelized edges that give way to soft, chocolate-studded centers.
Why This Recipe Works
The combination of butter ratios, sugar balance, and chilling time creates the perfect bakery texture. Using softened butter instead of melted ensures proper creaming, which incorporates air for a lighter texture. The balance of granulated and brown sugar provides both crispy edges and chewy centers. Brown sugar contains molasses, which adds moisture and chewiness, while granulated sugar promotes spreading and crispiness. Chilling the dough for at least 30 minutes is crucial because it solidifies the butter, slowing spread during baking and resulting in thicker cookies. The slight underbaking keeps centers soft even after cooling.
Essential Ingredients
Gather these ingredients for your Bakery Style Chocolate Chip Cookies:
- 1 cup (2 sticks) unsalted butter, softened to room temperature
- Three-quarters cup granulated sugar
- Three-quarters cup packed light brown sugar
- 2 large eggs at room temperature
- 1 teaspoon vanilla extract, pure preferred
- 2 and one-quarter cups all-purpose flour
- 1 teaspoon baking soda
- Half teaspoon salt
- 2 cups chocolate chips, milk, semi-sweet, or a mix
Step-by-Step Instructions
Cream Butter and Sugars
In a large mixing bowl, combine the softened butter with both sugars. Using an electric mixer on medium speed, cream together for 2 to 3 minutes until the mixture becomes light, fluffy, and pale in color. This creaming process is essential for incorporating air, which creates a tender texture. Scrape down the sides of the bowl halfway through to ensure even mixing.
Add Wet Ingredients
Add eggs one at a time to the butter mixture, beating well after each addition. This gradual incorporation prevents the mixture from breaking. Once both eggs are fully combined, mix in the vanilla extract. The mixture should look smooth and cohesive with no streaks of egg remaining.
Combine Dry Ingredients
In a separate medium bowl, whisk together the flour, baking soda, and salt. Whisking rather than stirring ensures these ingredients are evenly distributed throughout the flour. This prevents pockets of baking soda or salt from creating uneven flavor or texture in your cookies.
Mix Wet and Dry
Gradually add the dry ingredient mixture to the wet ingredients, mixing on low speed. Stop mixing as soon as you no longer see streaks of flour. Overmixing at this stage develops gluten, which makes cookies tough and dense rather than tender. The dough should look slightly thick and cohesive.
Fold in Chocolate Chips
Using a rubber spatula or wooden spoon, gently fold the chocolate chips into the dough until evenly distributed throughout. Using a combination of milk chocolate and semi-sweet chips creates wonderful depth of flavor with varying levels of sweetness. Reserve a few chips to press into the tops of cookies before baking for a professional bakery appearance.
Chill the Dough
Cover the bowl tightly with plastic wrap and refrigerate for at least 30 minutes. For even better flavor and texture, chill up to 24 hours. The longer chilling time allows the flour to fully hydrate and the flavors to meld together. Chilled dough also spreads less during baking, creating those signature thick Bakery Style Chocolate Chip Cookies.
Prepare and Bake
Preheat your oven to 375 degrees Fahrenheit and line baking sheets with parchment paper. Using a 2-tablespoon cookie scoop or spoon, drop rounded portions of dough onto the prepared sheets, spacing them about 2 inches apart. Bake for 9 to 12 minutes, until edges are golden brown but centers still look slightly underdone. The cookies will continue cooking on the hot pan after removal from the oven.
Cool Properly
Let cookies cool on the baking sheet for 5 full minutes before transferring to a wire rack. This resting period allows them to set properly without breaking. Transfer carefully using a thin spatula and allow to cool completely on the wire rack. Cookies will firm up as they cool but maintain soft, chewy centers.
Pro Tips for Success
- Measure flour correctly by spooning into measuring cups and leveling off
- Don’t skip chilling the dough for thick, bakery-style results
- Use room temperature eggs and softened butter for proper creaming
- Slightly underbake for the chewiest texture
- Use parchment paper to prevent sticking and ensure even baking
- Mix chocolate chip sizes for varied texture and visual appeal
Delicious Variations
Create your own signature cookies with these creative twists. Add 1 cup of chopped walnuts or pecans for nutty crunch. Make double chocolate cookies by replacing half cup flour with cocoa powder and using white chocolate chips. Create brown butter cookies by browning the butter before cooling and using. Try sea salt chocolate chip cookies by sprinkling flaky sea salt on top before baking. Make oatmeal chocolate chip cookies by replacing half cup flour with old-fashioned oats. Add espresso powder for mocha chocolate chip cookies with deeper flavor.
Storage and Freezing
Store baked Bakery Style Chocolate Chip Cookies in an airtight container at room temperature for up to 5 days. Place a slice of bread in the container to keep cookies soft. For longer storage, freeze baked cookies in freezer bags for up to 3 months. To freeze unbaked dough, scoop into balls, freeze on a baking sheet until solid, then transfer to freezer bags for up to 3 months. Bake frozen dough balls directly from the freezer, adding 1 to 2 minutes to the baking time. This makes fresh-baked cookies available anytime.
Ingredient Substitutions
- Replace half the flour with whole wheat flour for heartier cookies
- Use all granulated sugar for crispier cookies throughout
- Try dark chocolate chips or chunks for richer chocolate flavor
- Substitute coconut oil for butter in equal amounts
- Use gluten-free flour blend for gluten-free version
- Replace vanilla extract with almond extract for different flavor
Frequently Asked Questions
Why do my cookies spread too much?
Insufficient chilling time is the most common cause. Make sure dough is chilled for at least 30 minutes and butter was softened, not melted. Also ensure your baking soda is fresh and oven temperature is accurate.
Can I make the dough ahead of time?
Absolutely! Chilling dough for up to 24 hours actually improves flavor and texture. The extended chill time allows the flour to fully hydrate and flavors to develop, creating even better Bakery Style Chocolate Chip Cookies.
Why are my cookies flat and crispy?
This usually indicates too much sugar, not enough flour, melted butter instead of softened, or baking at too low a temperature. Make sure to measure ingredients accurately and follow chilling instructions.
How do I get thick cookies like bakeries?
The key is chilling the dough thoroughly, using enough flour, and slightly underbaking. Chill dough for at least 30 minutes, don’t overmix after adding flour, and remove cookies when edges are set but centers look slightly underdone.
Can I use salted butter?
Yes, but reduce or omit the additional salt in the recipe. Salted butter contains about quarter teaspoon of salt per stick, so adjust accordingly to avoid overly salty cookies.
What chocolate chips work best?
Any variety works well! Semi-sweet chocolate chips are classic, milk chocolate adds sweetness, and dark chocolate provides rich flavor. A combination of two types creates the most complex, bakery-style taste.
Why do bakery cookies taste better?
Professional bakeries often use high-quality ingredients, proper technique including dough chilling, and careful timing. This recipe replicates those methods to achieve authentic bakery results at home with perfect texture and flavor.
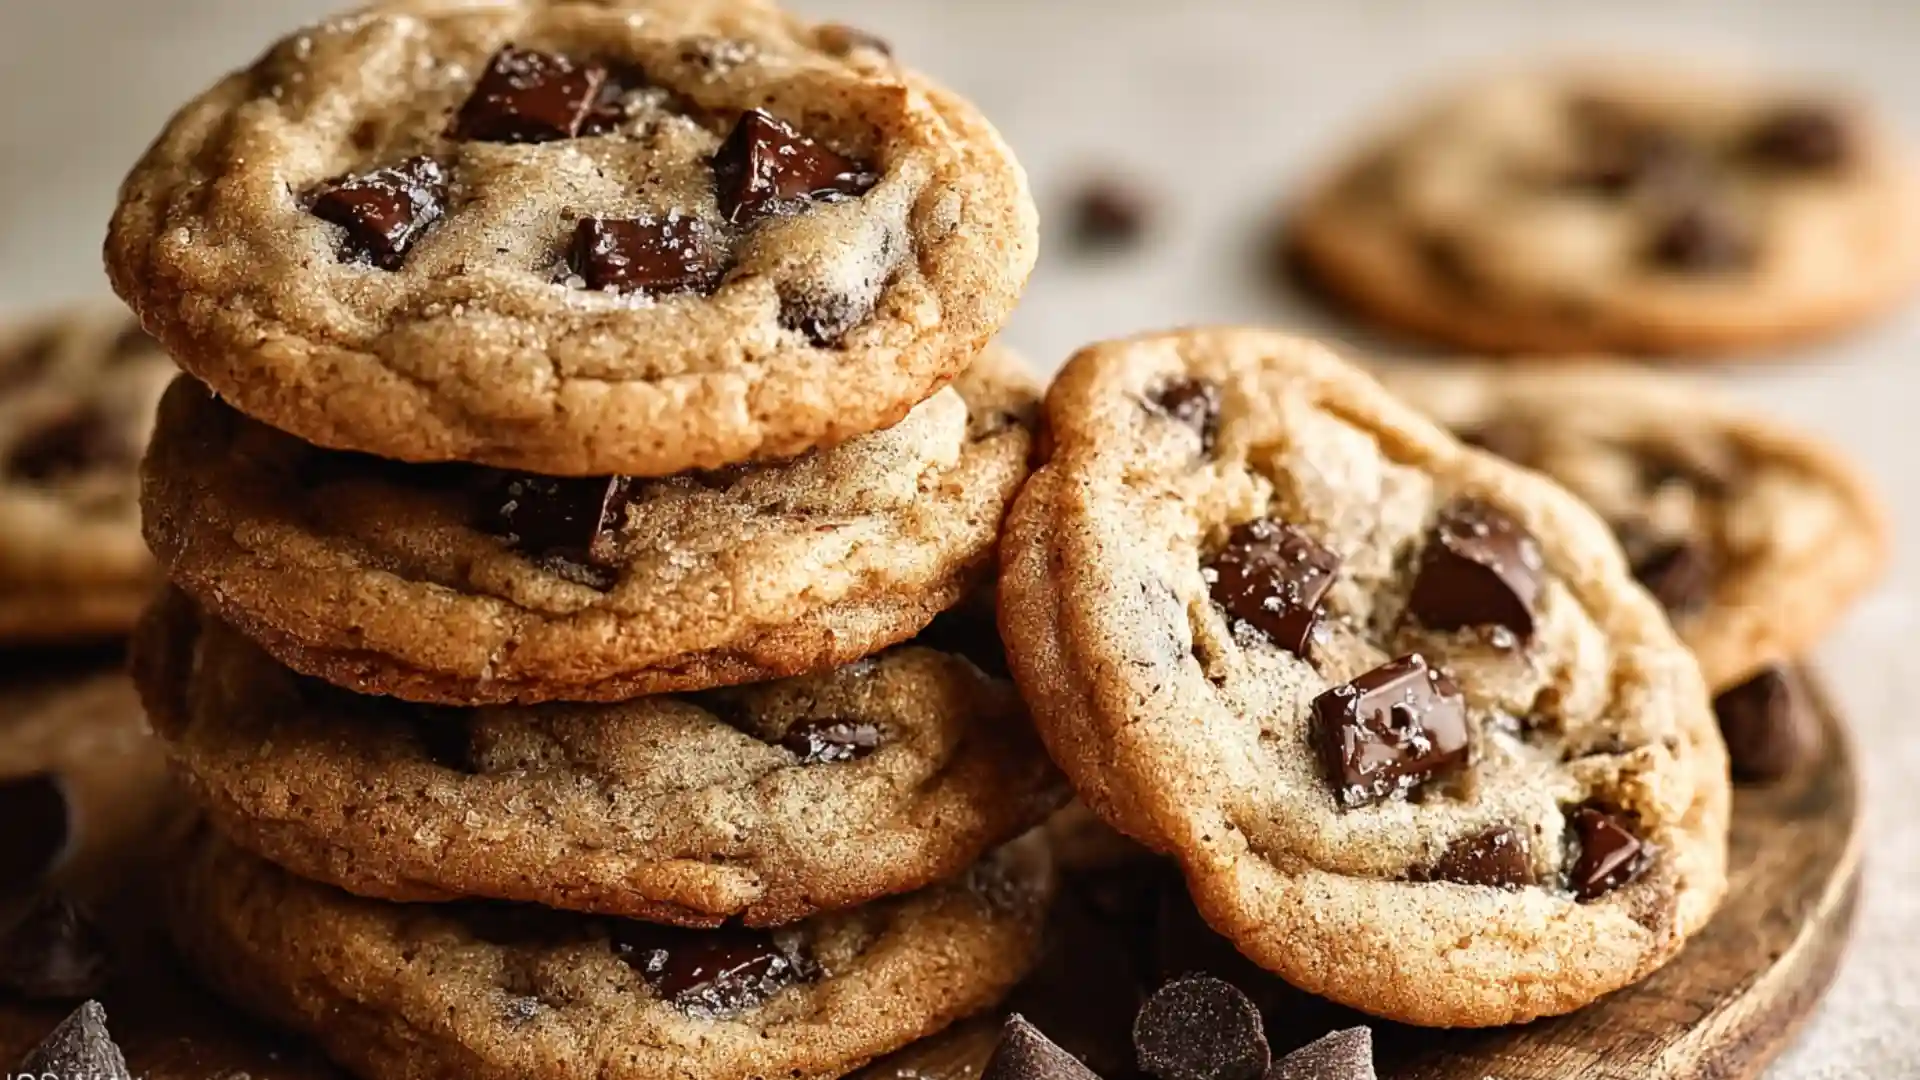
Bakery Style Chocolate Chip Cookies
Ingredients
Equipment
Method
- Cream butter and sugars: In large bowl, beat softened butter, granulated sugar, and brown sugar with electric mixer on medium speed for 2-3 minutes until light and fluffy.
- Add wet ingredients: Beat in eggs one at a time, mixing well after each. Stir in vanilla extract until combined.
- Combine dry ingredients: In separate medium bowl, whisk together flour, baking soda, and salt until evenly mixed.
- Mix wet and dry: Gradually add dry ingredients to wet ingredients, mixing on low speed until just combined. Do not overmix.
- Add chocolate chips: Fold in chocolate chips with spatula until evenly distributed throughout dough.
- Chill dough: Cover bowl tightly with plastic wrap and refrigerate for at least 30 minutes, or up to 24 hours for best results.
- Prepare and bake: Preheat oven to 375°F. Line baking sheets with parchment paper. Drop rounded tablespoons (or use 2-tablespoon cookie scoop) onto sheets, spacing 2 inches apart.
- Bake cookies: Bake for 9-12 minutes until edges are golden brown and centers still look slightly soft. Do not overbake.
- Cool properly: Let cookies cool on baking sheets for 5 minutes, then transfer to wire rack to cool completely.
Notes
- Chilling is crucial: Don’t skip chilling time as it prevents spreading and creates thick cookies
- Soft butter not melted: Butter should be softened to room temperature, not melted
- Don’t overmix: Stop mixing as soon as flour is incorporated to keep cookies tender
- Underbake slightly: Cookies continue cooking on hot pan after removing from oven
- Room temperature eggs: Allow eggs to sit at room temperature 30 minutes for better incorporation
- Freeze for later: Unbaked dough balls freeze beautifully for up to 3 months